
Steps to Designing and Uploading Labels Using Zebra's ZDesigner Software
This document outlines the steps to creating labels using Zebra ZDesigner, then saving and uploading labels into Simple RFiD
_____________________________________________________________
Table of Contents
1. Install Zebra Designer software
5. Upload the Label to Simple RFiD
_____________________________________________________________
1. Install Zebra Designer software
- Navigate to the Resources tab on web.simplerfid.com. On the Resources tab, download Zebra Designer.

Follow the Installation Wizard and Install the program
_____________________________________________________________2. Create a label
Select New and New Label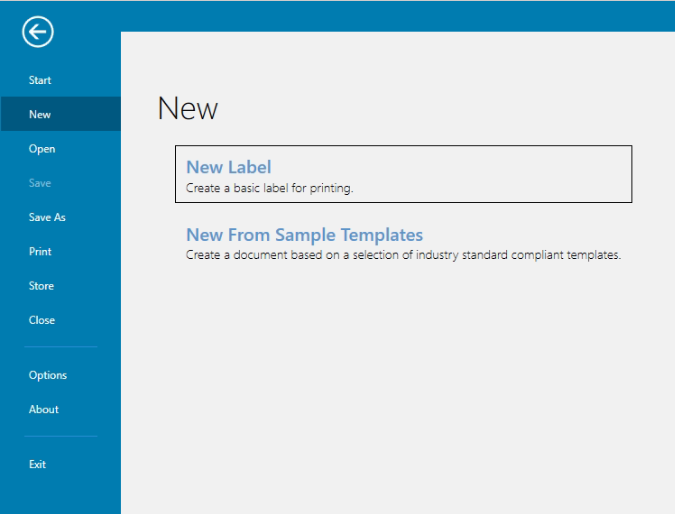
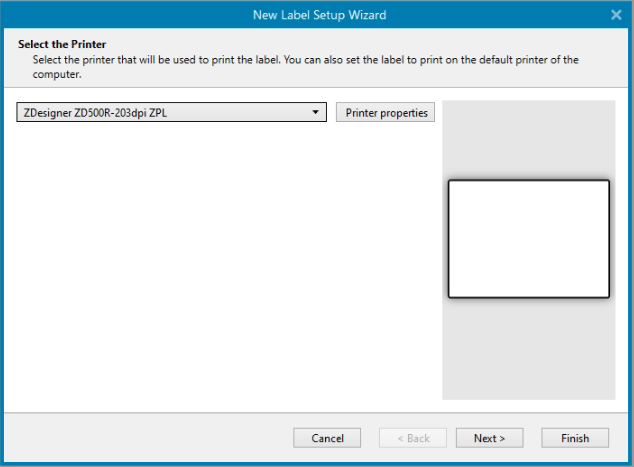
Select the Printer
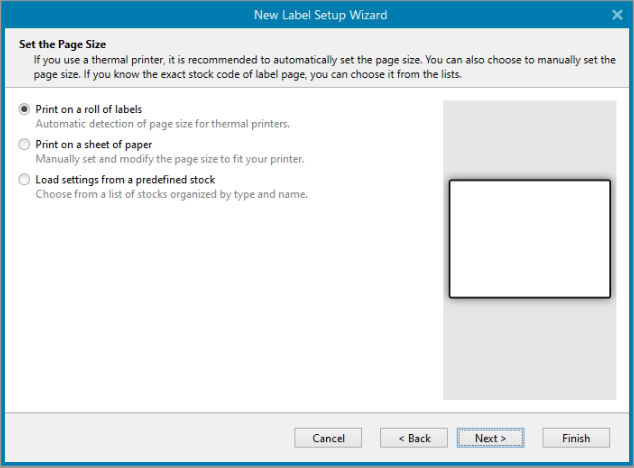
Set the Page Size
Select "Print on a roll of labels" if the labels are on a roll.
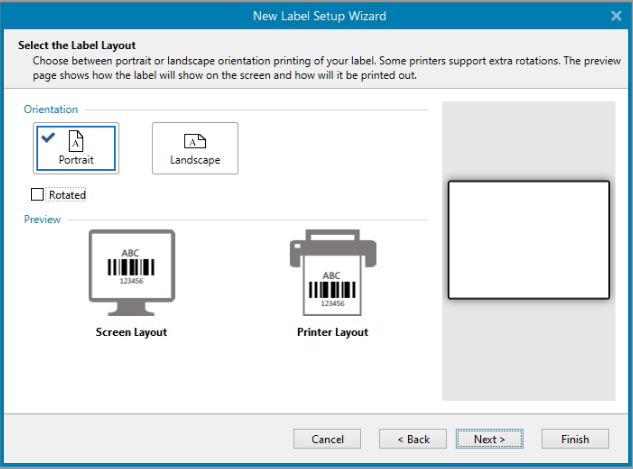
Select the Label Layout
In this case, it is Portrait. Next, deselect the Rotated checkbox, then click Next.
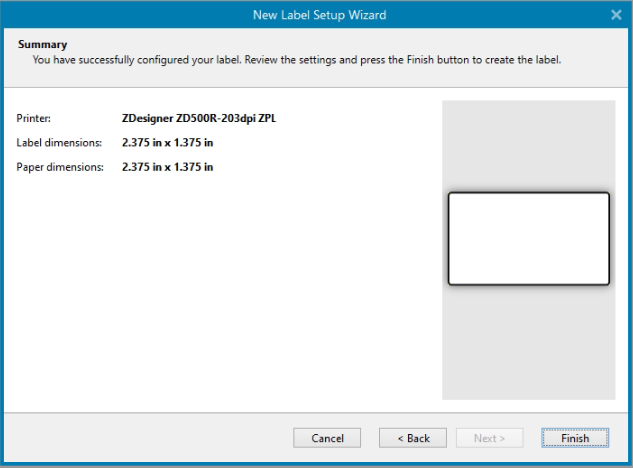
Specify the Label Dimensions, Width, and Height. Then click Next.

Summary
Finally, click Finish on the Summary screen.
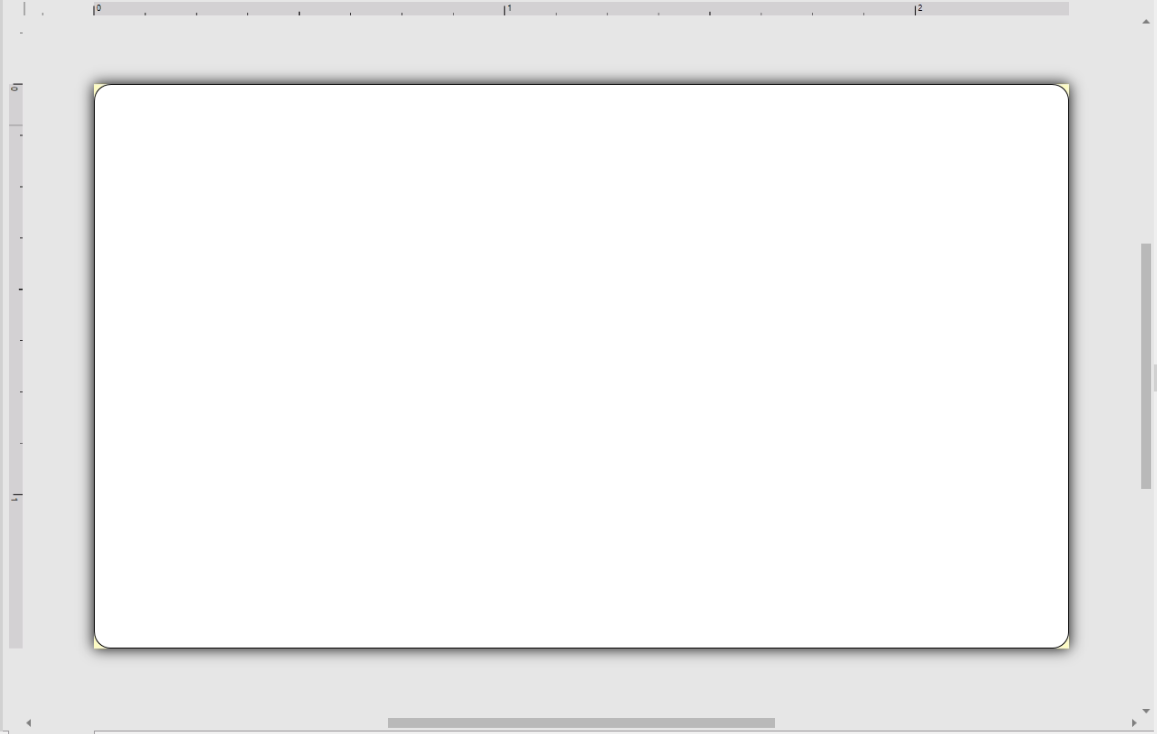
You will now have your canvas ready to add Properties
_____________________________________________________________
3. Add Properties to Label - The placeholder added to the design template identifies the corresponding field to map to from Simple RFID. The property must match one of the below:
SKU Level Information
- {Name}
- {Sku}
- {Category}
- {MfgId}
- {Barcode}
- UPC-A enter 61414199996
- {Size}
- {Color}
- {Price} or ${Price}
- {Reference1} or {Ref1}
- {Reference2} or {Ref2}
- {Reference3} or {Ref3}
- {Reference4} or {Ref4}
- {Reference5} or {Ref5}
- {Reference6} or {Ref6}
Tag Level Information
- {ISN}
- {ExpDate}
- {BornDate}
- {LotNumber}
- {SellBy}
- {Sn}
- {Cost}
If you wish to add a fixed element (data that remains static for each print), remove the {Brackets}
_____________________________________________________________
4. Print To File
Once all properties have been added to the new template, click the Print icon at the top left.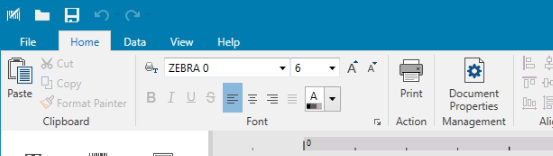
Check the "Print to File" checkbox, then click "Print."
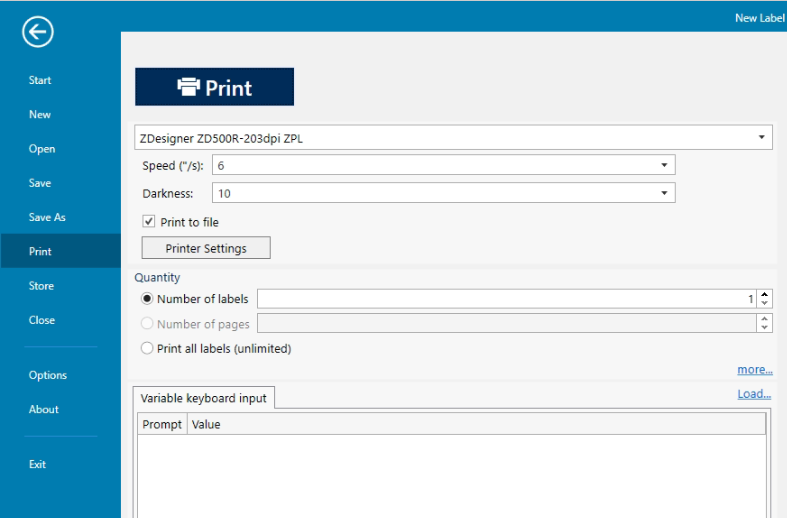
The label will be changed from an LBL and saved as a . PRN.
5. Upload the Label to Simple RFiD
Go to the ZPL Designer (BETA) tab under the Settings (gear icon) and select "Create from file."


From the Upload window, select:
- Label Size
- Printer DPI (If you are unsure of your printer's DPI, you can locate it on the Printers tab under the Settings menu
- Name the Template
- Upload the PRN file
- Click "Create"
Your label will then appear in the list of saved templates.
Table of Contents