The following outlines the process of creating a print job from a Purchase Order in the new web backend
Step 1 - Create a Purchase Order
Step 2 - Create a Print Job for the Purchase Order
- Login to the new backend web-new.simplerfid.com
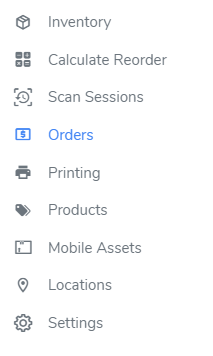
- From the left side, menu click Orders

- From the Orders page select the Purchase Tab

- Locate and select the desired Purchase Order

- Click the order line to open the individual Purchase Order view
- Change the status from Saved to "Approved" status

- Then click Save

- Finally, reopen the order which is now in Approved status and you will see a "Print" button located on the right side

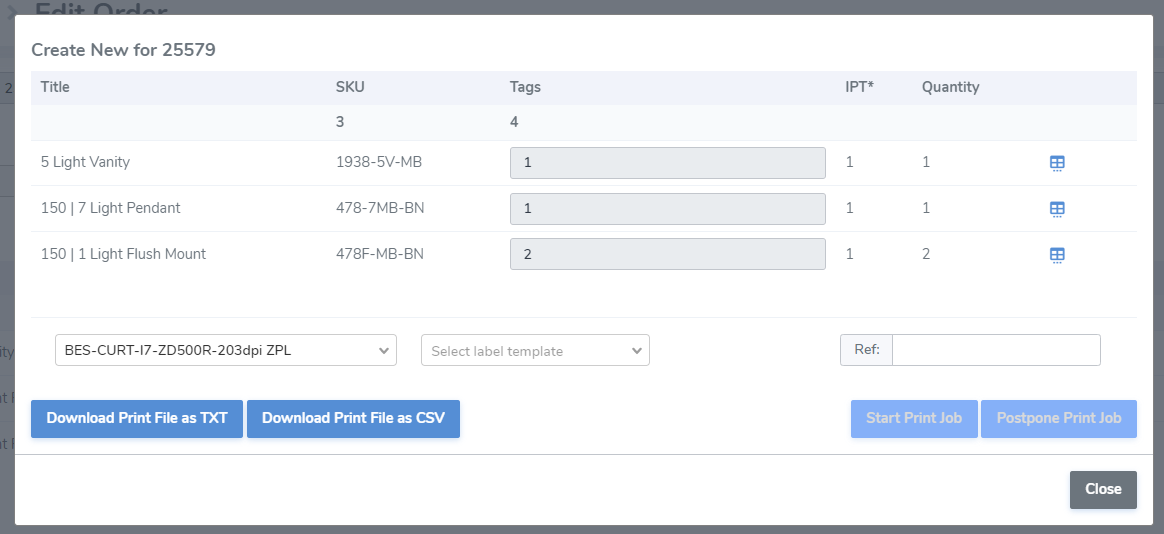
- Upon clicking the button the Print Job pop-up window will open

Finalize the job and:
-
- Select the desired printer and label the design
- Add EPC level detail
- Click Postpone Print Job to create a paused job from the Print Jobs page OR
- Click Start Print Job to execute the job immediately
